Welcome to Auto Mail! After installing our plugin, you’re ready to go. But where do you start?
In this article, we will explain the role of each one of our plugin’s pages and options, so you know everything you can do using our plugin.
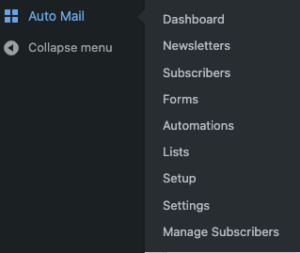
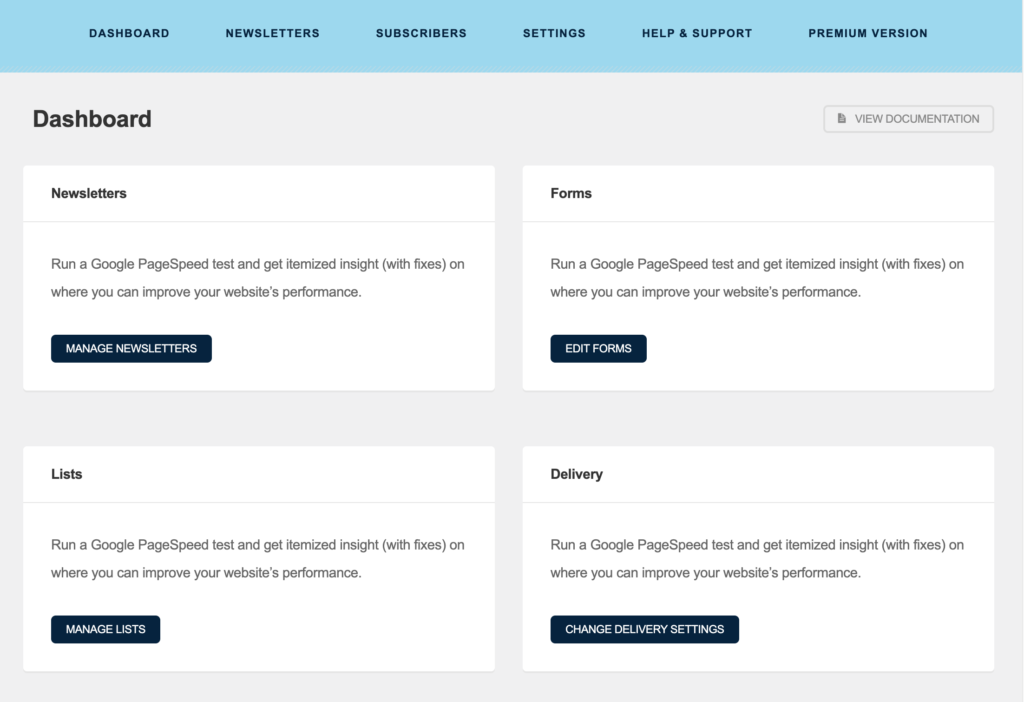
1. Dashboard
This is the overview page of the plugin, which contains all basic features sections of this plugin.
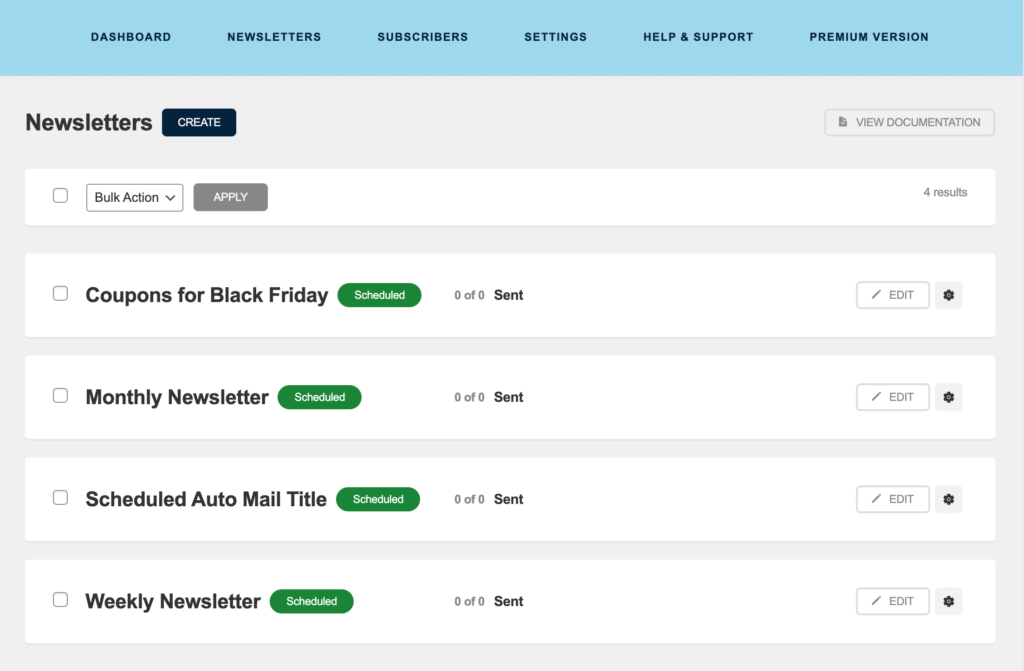
2. Newsletters
This is the most important page of the plugin, as it contains all your newsletters.
On this page, you can:
Create different types of newsletters
Look at an overview of all your existing newsletters
Filter your newsletters by status (Draft, Scheduled, Sending, Paused, Sent, Trashed)
Preview, Edit, Duplicate or Delete each individual newsletter
Search within existing newsletters
See the overall opened/clicked rates for each newsletter
Reorder the newsletters by the last modified date
Pause/Resume active newsletters
Apply bulk actions
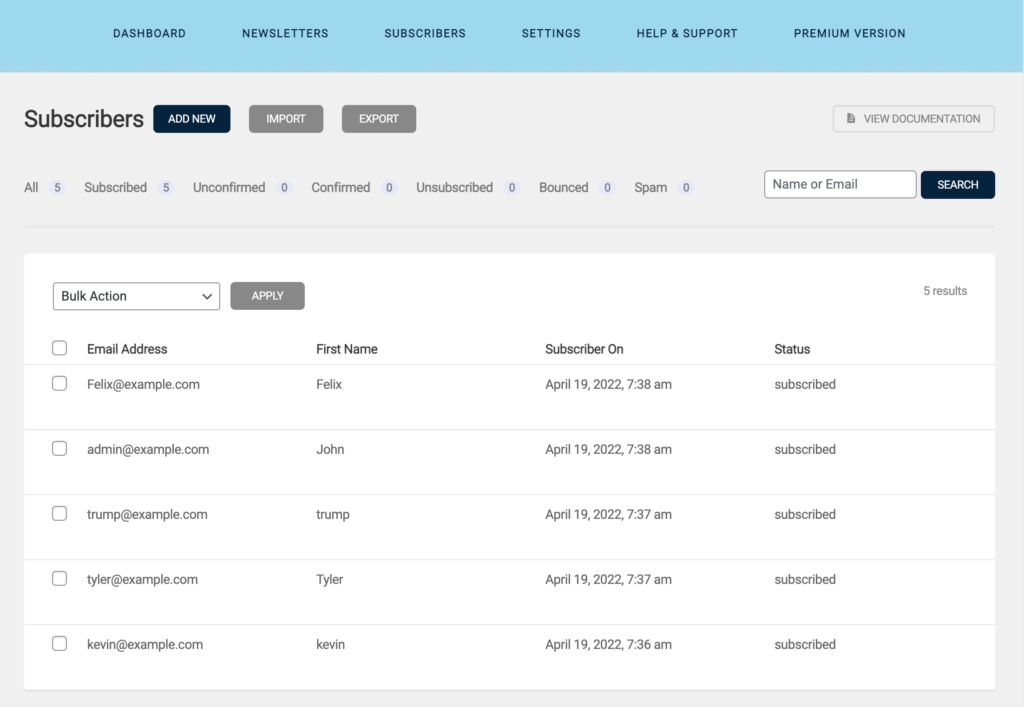
3. Subscribers
Your subscribers are important. After all, they read your emails!
On this page you can:
Manually add a subscriber
Import existing subscribers through a copy and paste action, from a CSV file or from your MailChimp account
Export a CSV file with detailed information
Filter your subscribers by their subscription status
Search for subscribers
Move/Add to a subscriber to a particular list
Remove a subscriber from a particular list
Remove a subscriber from all lists
Resend the confirmation email
Delete the subscriber
Edit a subscriber’s information
4. Forms
On this page, you can manage your Auto Mail subscription forms. These forms allow your visitors to join your mailing list/lists
On this page you can:
Create new subscription forms
Check what lists are assigned to each particular form
See how many signups each form receives
Organize the list of forms by creation date
Edit the name and fields for each existing form
Duplicate an existing form
Delete a form or series of forms
5. Automations
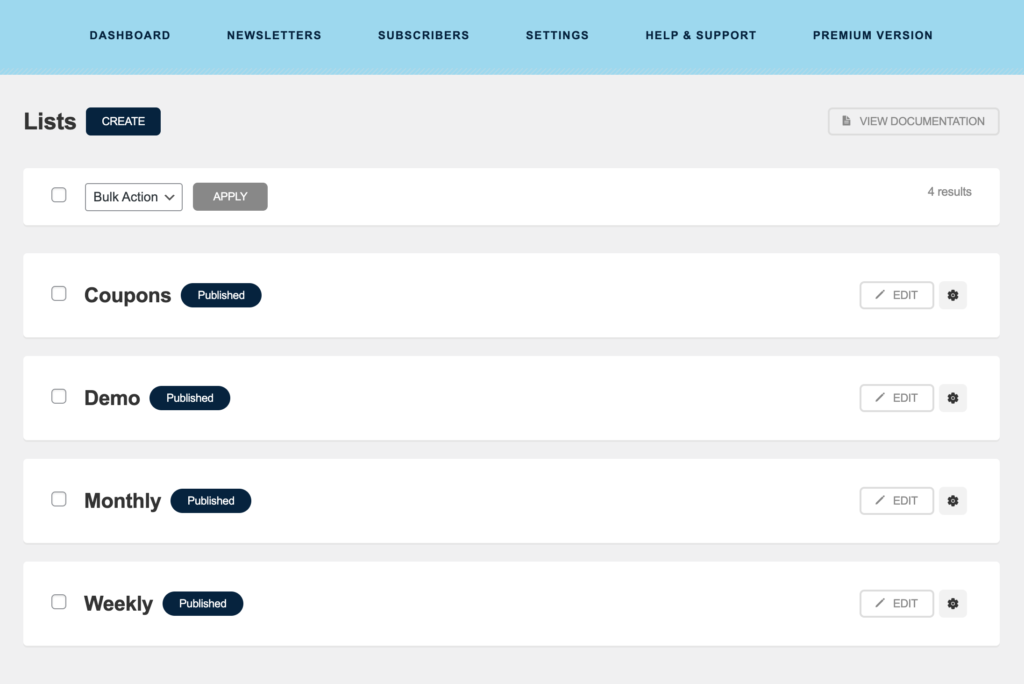
6. Lists
Your subscribers are grouped inside lists. These help you segment and target specific audiences with your newsletters.
If you run an eCommerce store or a “membership” type of website, you can also send newsletters directly to your WordPress Users.
On this page you can:
Create new lists
Edit the name and description an existing list
Check the number of subscribers per list which are subscribed, unconfirmed and unsubscribed
Order lists by their creation date
Duplicate an existing list
Delete a list
Force a resynchronization of the WordPress Users list
7. Setup
8.Settings
The settings page is the first one you should look at when experiencing issues with Auto Mail. Why? Because it’s the source of many common problems.
9. Manage Subscribers
Other Documents
Get up to 50% OFF now!
Ultimate Special Sale and Limited Time Offer. Choose Your Plan and Get Started Now.