The email designer is the most important part of Auto Mail. You’ll probably spend most of your time using it.
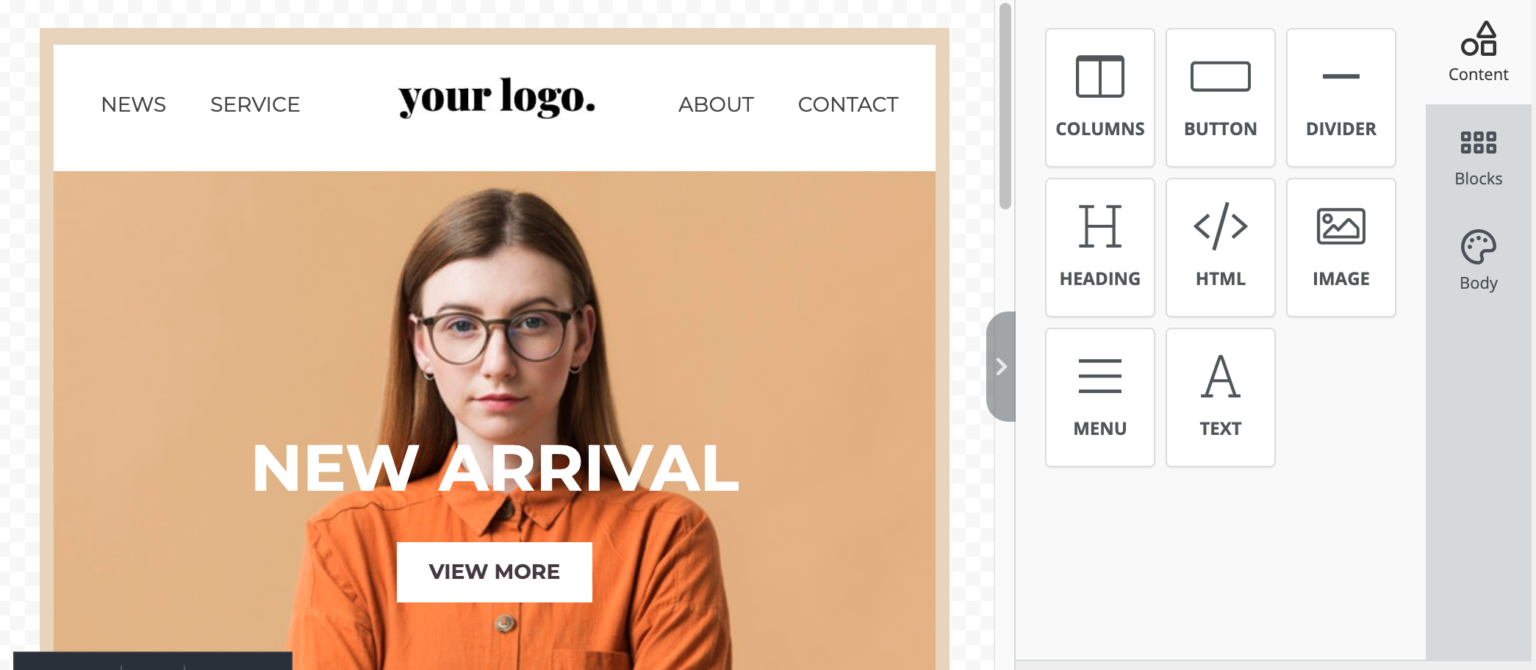
There are basically two things you can do in the email editor:
In the image below, the light blue box has a lateral tab with the options and actions related to the one-column layout block. You can check its settings, delete, duplicate, or move it.
The dark blue box has a bottom tab with the actions for the section, so you can delete, duplicate, or move it.

In the right sidebar, you’ll find three menu items that will help you customize your newsletter:
All of these tools are drag-and-drop. That means you simply have to grab one and drag into a layout block in the editor to the left.
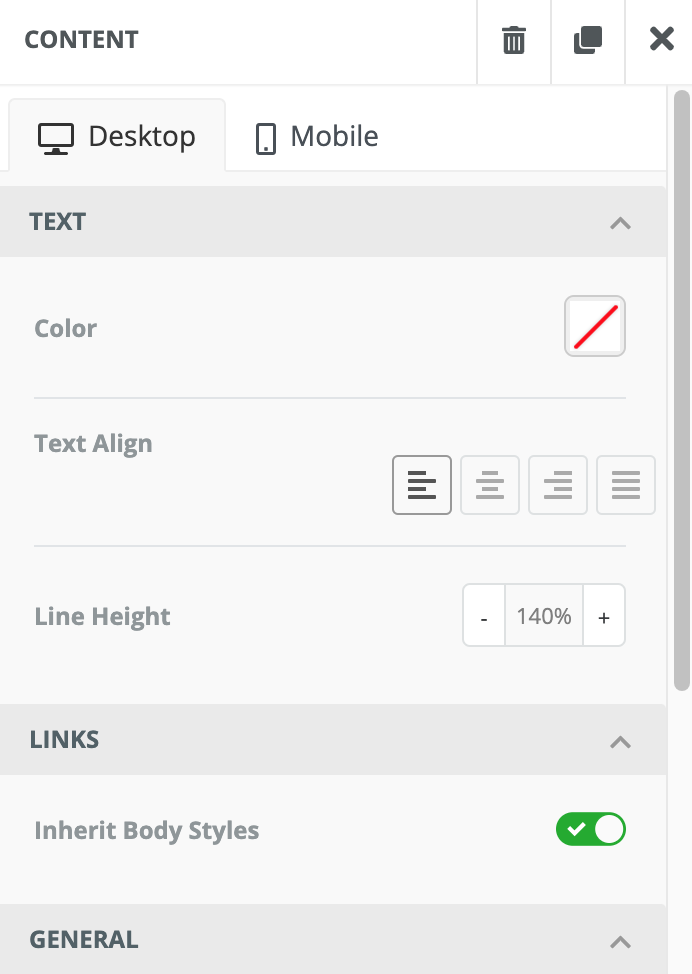
This tool allows you to add text to your newsletter. It’s as simple as that! You can customize the text in many ways:
This tool lets you add images to your newsletter. You can upload new ones directly or from image url.
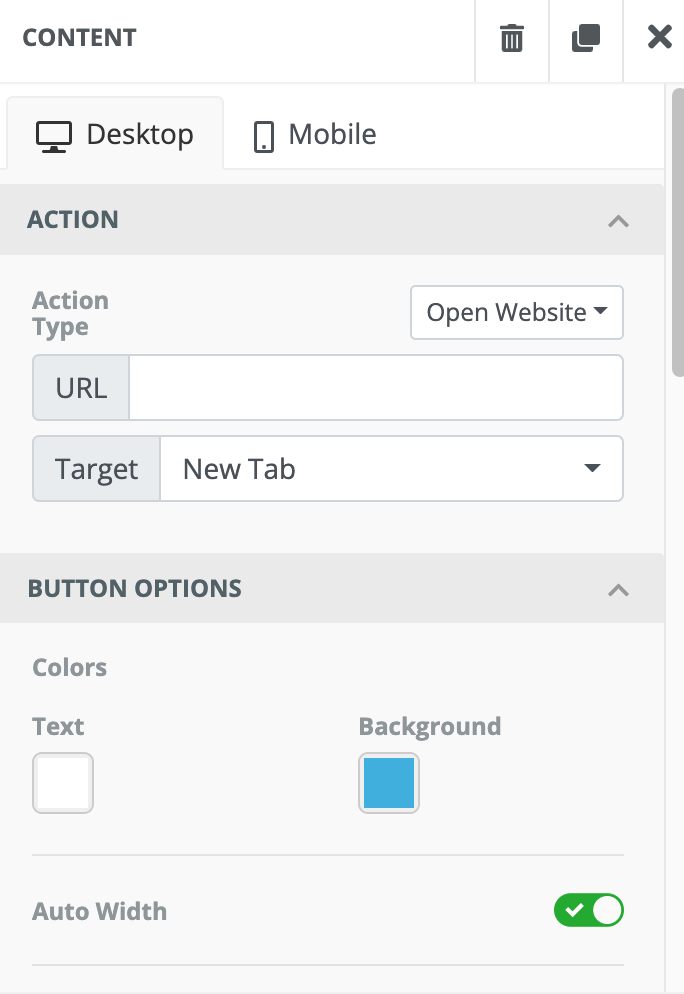
This tool is used to create buttons. When you drag the button tool into your newsletter, you’ll need to click on the button area to edit its settings. This icon is displayed when you hover your mouse over the button block. After clicking the button area, the settings will be displayed:
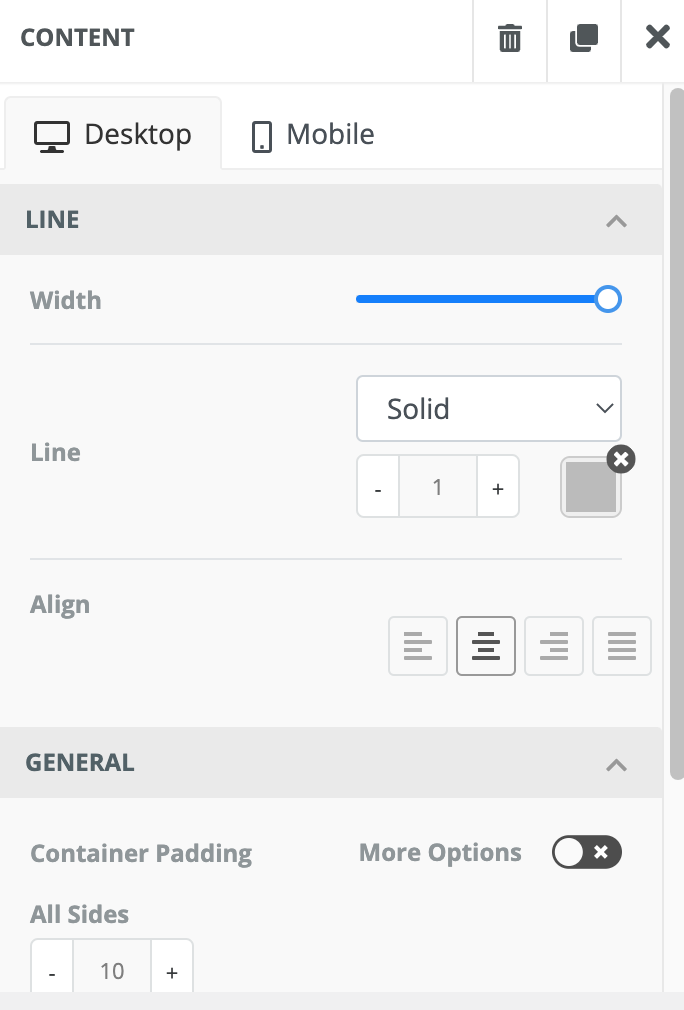
The divider is useful to separate content blocks inside your newsletter. Use as many dividers as you like!
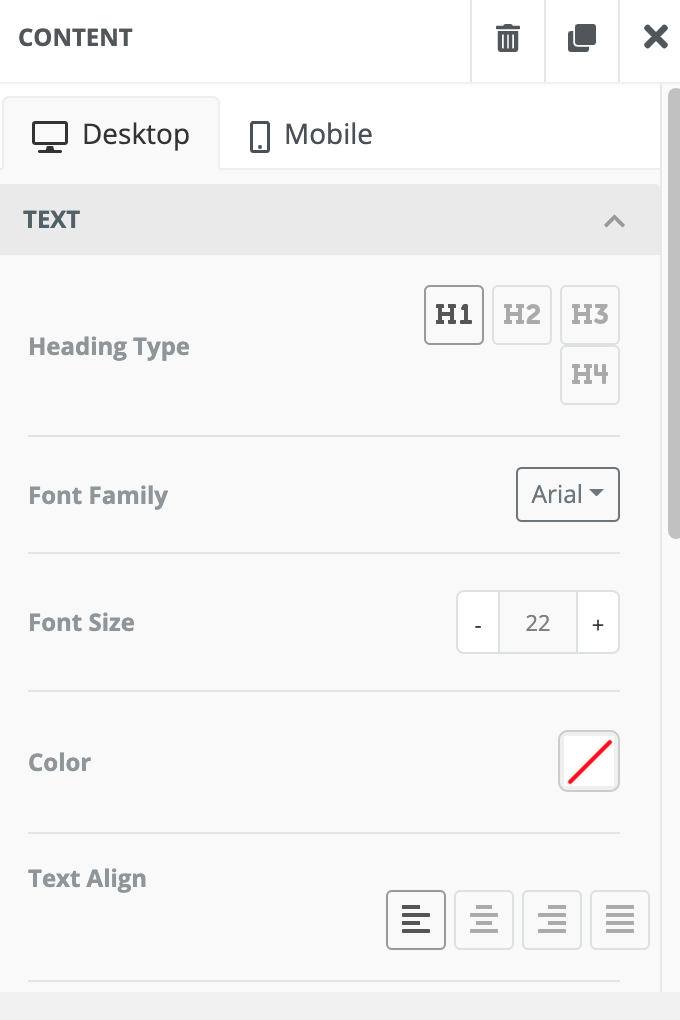
This tool lets you add heading to your newsletter
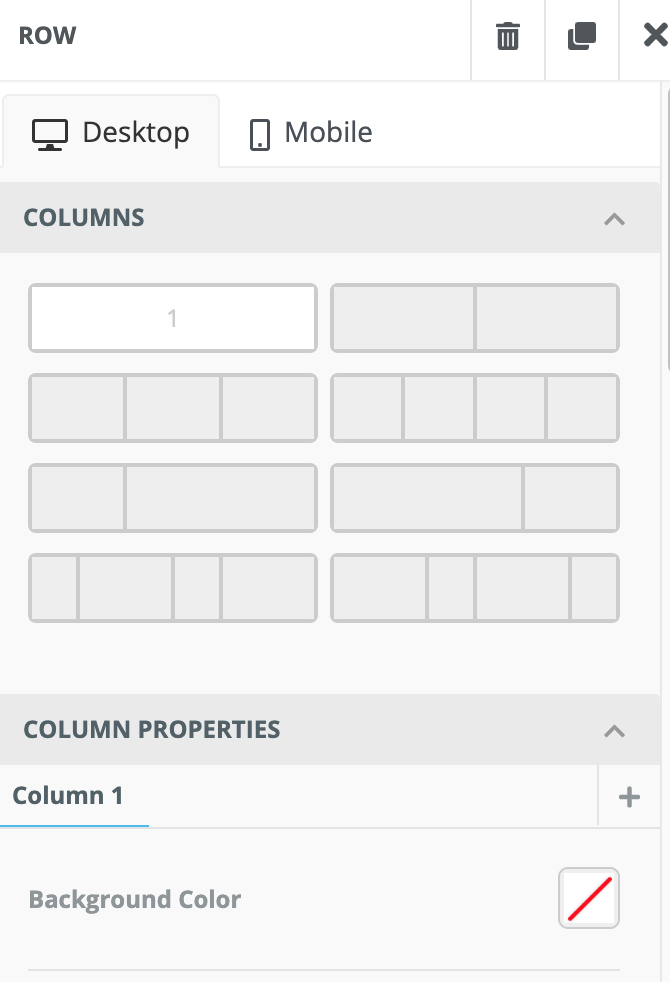
The columns is used to add content blocks inside your newsletter.
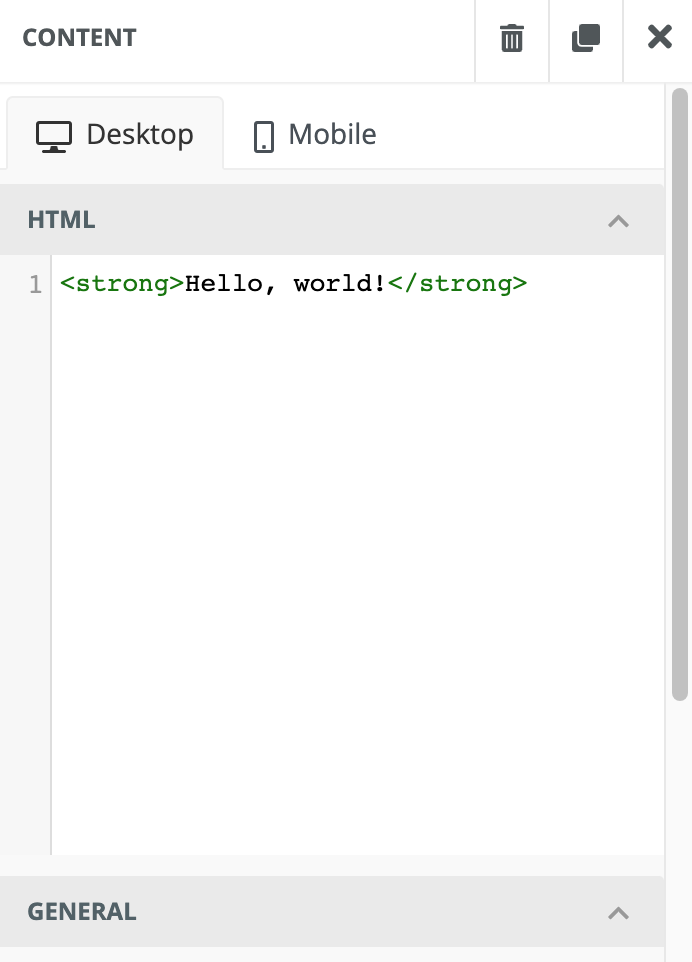
This tool lets you add html to your newsletter
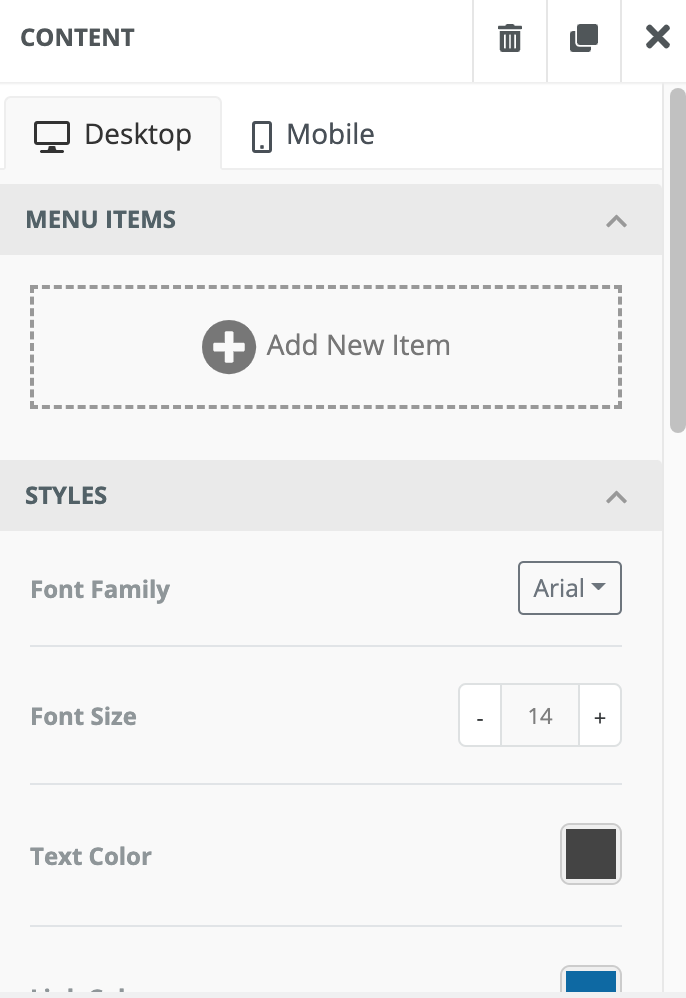
This tool lets you add menu to your newsletter
Ultimate Special Sale and Limited Time Offer. Choose Your Plan and Get Started Now.
